How to Style a Bookshelf: A Step-by-Step Method
A well-styled bookshelf looks effortless, but it is usually the result of editing and a simple order of work. Follow these steps and the shelves will look balanced while still holding the books you actually read.
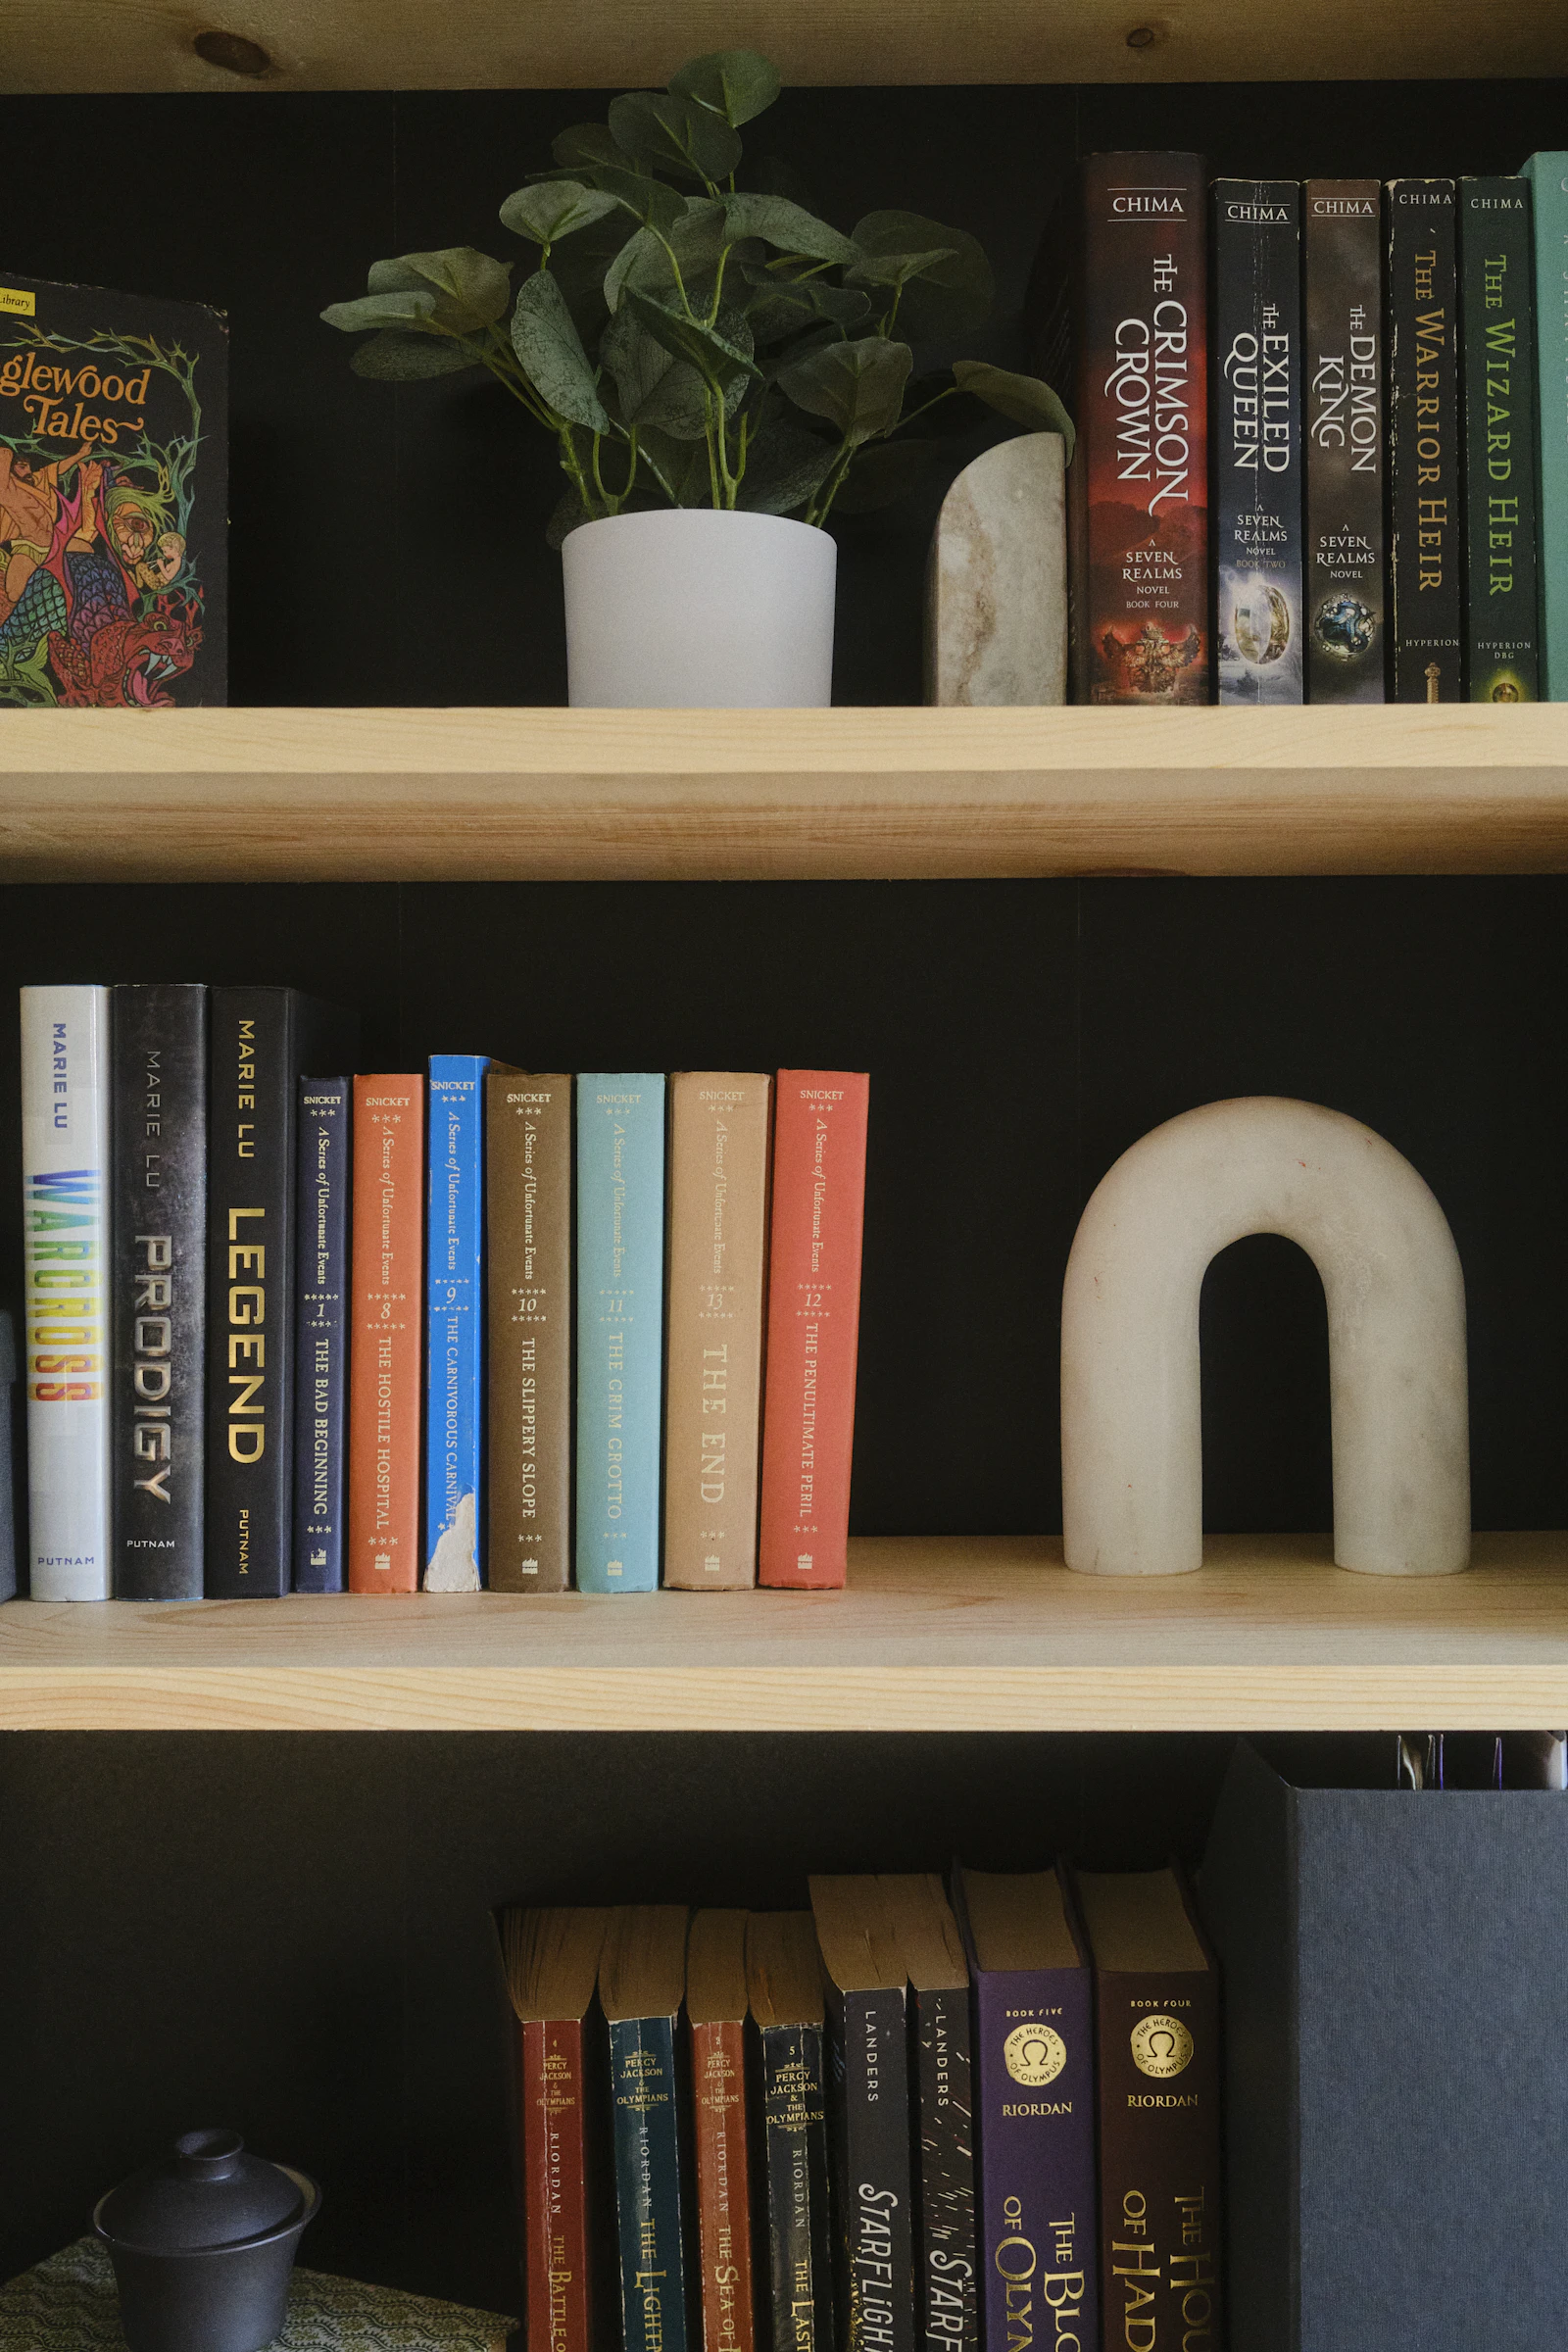
Bookshelves are one of the most personal parts of a room, and one of the most likely to slip into clutter. Books accumulate, objects get added one at a time, and gradually the shelves fill until nothing stands out. Styling a bookshelf is not about turning it into a shop display. It is about giving the books and a few chosen objects enough structure and space that the eye can rest on them.
The method below works for a single wall shelf, a freestanding bookcase or built-in alcove shelving. It starts with practical decisions and leaves decoration until last, which is the order that makes the result look effortless.
Before you start: check the structure
Styling cannot fix shelves that sag, wobble or are spaced wrongly. A quick check now prevents frustration later.
| Item | Typical dimension | Why it matters |
|---|---|---|
| Depth for paperbacks | 18–20 cm (7–8 in) | Deeper shelves let small books disappear at the back |
| Depth for hardbacks and objects | 25–30 cm (10–12 in) | Room for large books and objects in front |
| Height between shelves, general books | 25–32 cm (10–12½ in) | Fits most novels and hardbacks with finger space |
| Height for large art books and files | 35–40 cm (14–16 in) | Keep at least one taller shelf, usually low down |
| Weight of books | 20–30 kg per metre (13–20 lb per ft) | Choose shelves and brackets rated for the load |
| Unsupported span | About 70–90 cm (28–35 in) for typical 18 mm board | Longer spans need thicker shelves or extra support |
Tall freestanding bookcases should be fixed to the wall with anti-tip hardware, especially in homes with children. Load the heaviest books on the lower shelves, which also makes the unit look more grounded.
Step 1: Empty and edit
Take everything off. It sounds drastic, but rearranging items in place almost always leaves the same clutter in a slightly different order. Sort what you remove into four groups:
- Books you use or love, which go back.
- Objects with meaning or genuine beauty: ceramics, pieces collected on travels, inherited items, a few photographs.
- Things that belong elsewhere: chargers, paperwork, toys, keys.
- Things to let go: duplicates, outdated guides, objects bought to fill space.
Be selective with objects. For decorative shelving, it is better to have too few than too many; you can always add later. The principle is the same one behind warm minimalist decor: fewer, better things, each given room.
Step 2: Anchor with books
Books are the backbone of the shelf, so place them first. Distribute them across the whole unit rather than filling the top shelves and leaving objects to the bottom. Larger and heavier books go lower; this is safer and looks visually stable.
Group books into blocks rather than single volumes scattered around. A block of 8–15 books reads as a deliberate unit; three lonely books look like leftovers.
Step 3: Mix vertical and horizontal stacks
A unit where every book stands upright looks like a library; that is fine for a working collection, but in a living room it can feel heavy. Alternating orientation creates rhythm:
- Vertical rows of books, ideally arranged by height within each row, either descending or with the tallest at the ends.
- Horizontal stacks of three to six books laid flat. These work as bookends for vertical rows and as plinths for small objects.
- Leaning books at the end of a short row add informality but should not be overdone, as they can warp over time.
Avoid placing horizontal stacks in exactly the same position on every shelf. Shift them from left to right on alternating shelves to create a zigzag, which leads the eye up and across the unit.
Step 4: Add objects in triangles
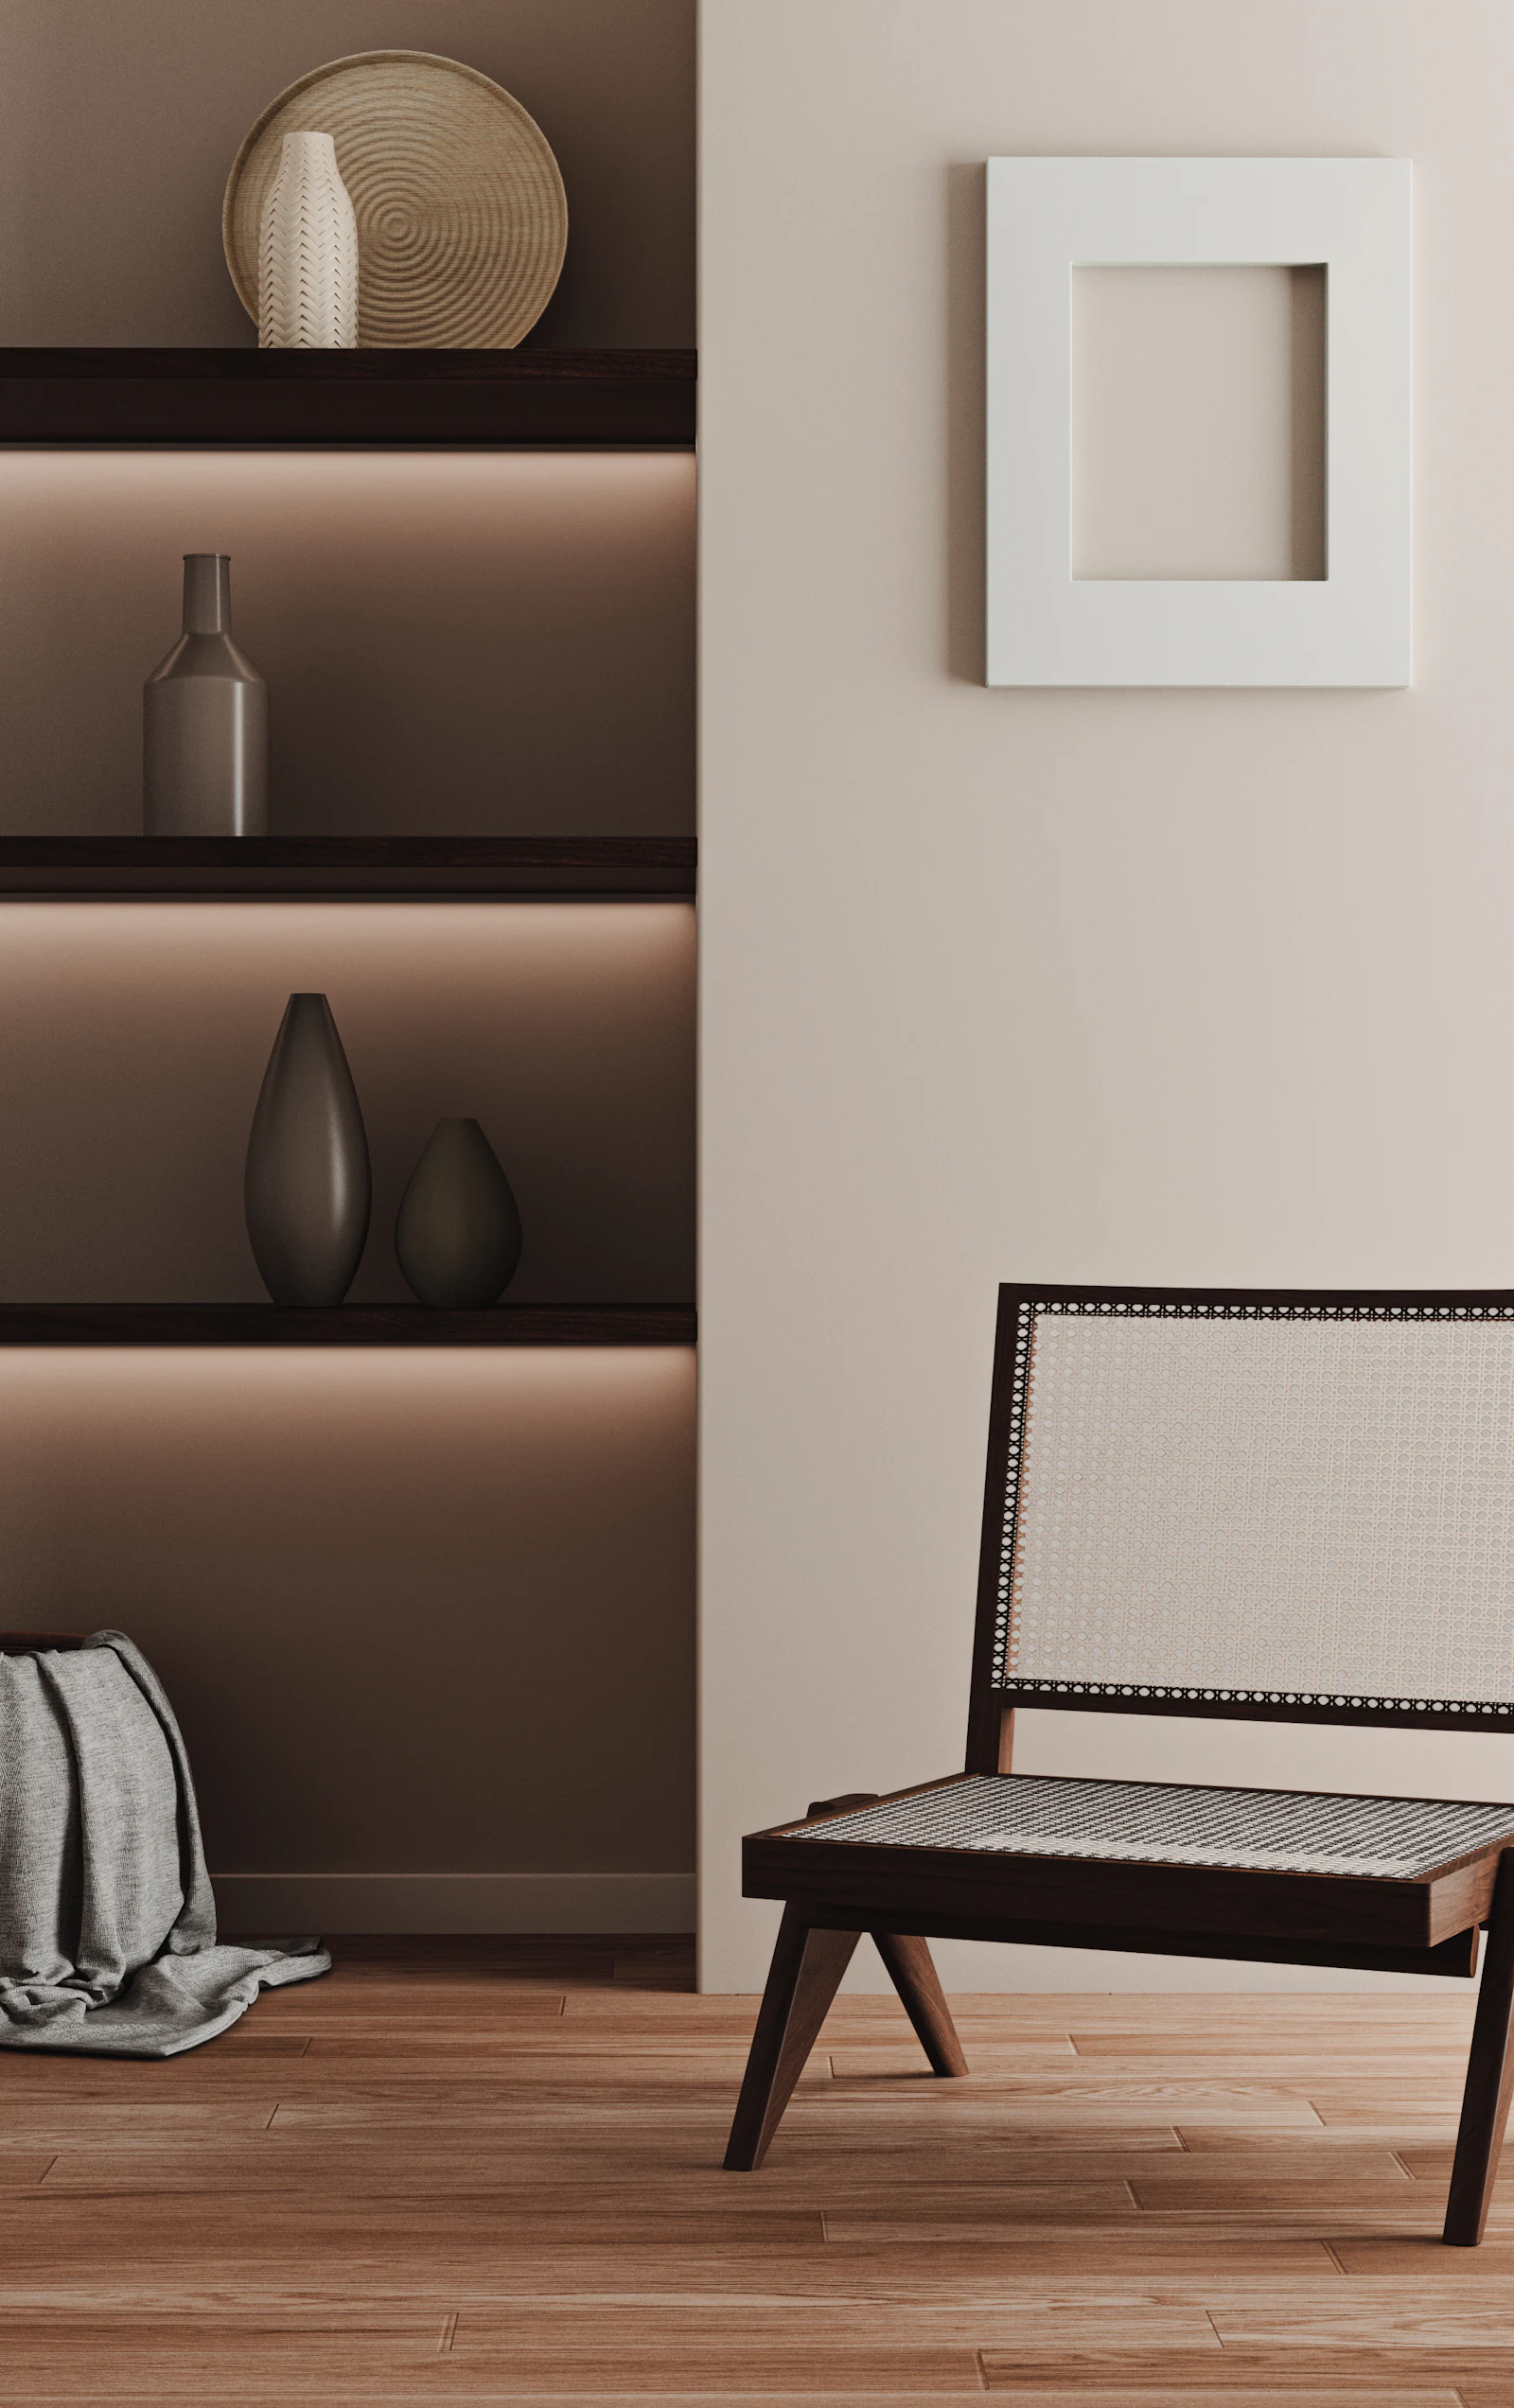
Once the books are placed, add objects. The most reliable technique is to arrange them so that the main pieces form loose triangles across the unit. For example, place a tall vase on the top left, a medium object on the middle right and a second tall piece on the bottom left. The eye travels between points, which makes the arrangement feel balanced without being symmetrical.
Repeat a colour or material in the same triangular way. Three pieces of white ceramic or three brass objects spread across the unit tie everything together.
Grouping objects
- Odd numbers tend to look more natural than pairs: groups of one, three or five.
- Vary height within a group: a tall vase, a medium bowl and a small object in front.
- Vary shape: round pieces next to angular books and frames; organic forms next to straight lines.
- Layer front to back: a framed print or plate leaning at the back, a smaller object in front, slightly overlapping.
- Use stacks as plinths: a small sculpture on a horizontal stack of books looks deliberate.
Step 5: Leave negative space
Empty space is part of the arrangement, not a gap to be filled. On decorative shelving, aim to leave roughly a quarter to a third of each shelf clear. Space around an object signals that it matters. If every shelf is completely full, nothing stands out and the whole unit reads as visual noise.
A useful test is to step back to the far side of the room and squint. You should see a pattern of solid blocks and open spaces, roughly balanced from top to bottom and left to right. If one area looks dense or one side looks heavier, move items until the balance evens out.
Step 6: Add plants and lighting
Trailing plants such as pothos or string-of-hearts soften hard lines and bring life into the arrangement, but they need suitable light, so check the plant's requirements and the shelf's position relative to windows. Artificial plants avoid that problem but need dusting. Place pots on saucers or inside a cover pot to protect wood from water marks.
Shelf lighting turns a bookcase into an evening feature. LED strips concealed under the front lip of each shelf or recessed into the sides give an even glow; a single picture light above the unit adds drama. Choose warm white around 2700 K and CRI 90 or above so book covers and ceramics show their true colours. Wired installations should be done by a qualified electrician; battery or plug-in strips are an alternative. See our layered lighting guide for how accent light fits into a room scheme.
The colour-grouping debate
Arranging books by spine colour is popular in photographs and divisive in practice. It is worth weighing the trade-offs honestly:
- For: it creates calm blocks of colour, hides visual chaos from many different spines and can tie a bookshelf to the room's palette.
- Against: it makes specific books harder to find, separates series and subjects, and can look contrived where shelves are large and very colourful.
Practical compromises include grouping by subject and then roughly by tone within each section, removing brightly coloured dust jackets from hardbacks, or colour-grouping only one decorative section while the main collection is organised for use. Turning spines to face the wall is not recommended: it makes books impossible to find and exposes page edges to dust and light.
Adapting the method
Working libraries
If the shelves are mainly for reading, prioritise access. Organise by subject or author, keep most books vertical, and limit objects to one or two per shelf, placed at the ends of rows where they double as bookends.
Small spaces
In compact rooms, a bookcase can act as a room divider or as wall storage that frees up floor space. Open-backed units let light pass through. Keep styling simpler than in a large room, because the unit is seen at closer range. More ideas are in our guide to small-space design.
Floating or single shelves
For one or two shelves, think in short compositions: a stack of books, a tall object and a small object, with clear space on either side. Check that wall fixings are suitable for the wall type and rated for the load.
Choosing objects that work on shelves
Scale is the most common problem with shelf objects. Pieces that are too small for the shelf look lost; pieces that almost touch the shelf above look cramped. As a rough guide, the tallest object on a shelf should fill about two-thirds to three-quarters of the height between shelves, with smaller objects grouped in front or beside it.
- Vases and vessels with simple shapes and matt finishes are easy to combine.
- Framed art and photographs leaning at the back add height and colour without needing holes in the wall.
- Boxes and baskets hide small items such as cables, remote controls and paperwork, keeping the shelf usable.
- Natural objects such as stones, branches and dried flowers add texture at little cost.
- Personal pieces: a souvenir, a family heirloom or a child's drawing make the shelf yours. Mix them with plainer items so they stand out.
Choose a limited palette for objects, perhaps two or three colours and one or two materials, and let book spines provide the rest of the colour.
Built-in shelves versus freestanding bookcases
Built-in alcove shelving looks integrated and uses awkward space efficiently, but it is fixed in place and needs careful planning of shelf heights at the outset. Adjustable shelf pins or tracks give flexibility as a collection changes. Freestanding bookcases can move with you and are easier to change, but they must be secured to the wall and can look bulky if they do not fill the space. In either case, painting the shelves the same colour as the wall makes them recede, while a contrasting colour turns them into a feature.
Keeping it looking good
Styled shelves drift back towards clutter as new books and objects arrive. A quick monthly reset, removing anything that has crept on and returning books to their blocks, keeps the arrangement intact. Dust from top to bottom with a soft cloth or the brush attachment of a vacuum cleaner. Once or twice a year, rotate a few objects in and out to refresh the look without buying anything new.
Common mistakes
- Styling without editing first, so the same clutter remains.
- Too many small objects. Lots of tiny items read as clutter; fewer, larger pieces look calmer.
- Everything at the same height on each shelf, producing a flat line.
- Perfect symmetry everywhere. Mirror-image shelves can look stiff; balance is more important than symmetry.
- Filling every centimetre. Without negative space, nothing stands out.
- Heavy items at the top, which looks unstable and increases tipping risk.
- Ignoring the back of the shelf. A painted or wallpapered back panel in a contrasting colour can add depth, especially with light-coloured objects.
Bookshelf styling checklist
- Check shelf depth, spacing, load and wall fixing.
- Empty the shelves completely and edit.
- Place books first, heaviest at the bottom, in blocks.
- Alternate vertical rows and horizontal stacks in a zigzag.
- Add main objects in loose triangles; repeat colours and materials.
- Group smaller items in odd numbers with varied height and shape.
- Leave a quarter to a third of decorative shelves empty.
- Add plants and warm, high-CRI lighting.
- Step back, squint and adjust until the balance feels even.
A bookshelf styled this way still works as storage, but it also becomes a quiet, personal focal point that can evolve as you add to the collection.
Frequently asked questions
Should books be arranged by colour?
It depends on how you use them. Colour-grouped shelves look calm and graphic, but they make specific books harder to find and can look contrived in a room with lots of other colour. A compromise is to group by subject and then roughly by tone within each group, or to colour-group only a decorative section.
How full should a styled bookshelf be?
For shelves that are mainly decorative, leaving roughly a quarter to a third of each shelf empty gives objects room to be seen. Working libraries can be fuller; aim to keep a little breathing space at the end of some shelves so the unit does not look crammed.
Should I turn book spines backwards?
Turning spines to the wall hides titles and colours for a neutral look, but it makes books almost impossible to find and can damage page edges over time. Plain covers or removing bright dust jackets achieve a similar calm effect without those drawbacks.
How do I stop shelves from sagging under books?
Books are heavy: a metre of hardbacks can weigh 20–30 kg. Choose shelves rated for that load, keep spans short (roughly 70–90 cm for typical board shelves), use thicker shelves or a central support for longer spans, and put the heaviest books on the lowest shelves.
Do tall bookcases need to be fixed to the wall?
Yes. Freestanding tall bookcases can tip forward, especially if top shelves are heavy or children climb them. Use the anti-tip fixings supplied, or suitable wall fixings for your wall type, and load the lower shelves with the heaviest items.
Measurements and rules of thumb in this guide are starting points; always check your own room, local building rules and manufacturer instructions. Images are illustrative, from Unsplash. Read how we research and update our guides in our Editorial Policy, and tell us if you spot an error.