Layered Lighting: How to Light Every Room Properly
A single ceiling light makes most rooms look flat by day and gloomy by night. Layering several sources at different heights, each with a job, is the most effective upgrade a room can get.
Lighting is the part of a room that most people notice last and that changes the room the most. The same sofa, rug and wall colour look completely different under a single bright overhead light compared with three or four softer sources placed around the room. The overhead light flattens everything, casts shadows downwards on faces and leaves corners dim. Several sources at different heights create depth, warmth and the ability to change the mood of the room at the turn of a switch.
This approach is called layered lighting. It does not require expensive fittings or rewiring; plug-in lamps alone can transform a room. What it requires is a plan.
The four layers
Each layer has a distinct job. Good rooms use at least three of them.
- Ambient (general) light gives overall, even illumination so you can move around safely. It might come from ceiling fittings, recessed downlights, wall washers or uplighters bouncing light off the ceiling.
- Task light is focused, brighter light for specific activities: reading, cooking, working, shaving. It is placed close to the activity.
- Accent light highlights features such as artwork, shelves, plants or textured walls. It creates contrast and draws the eye.
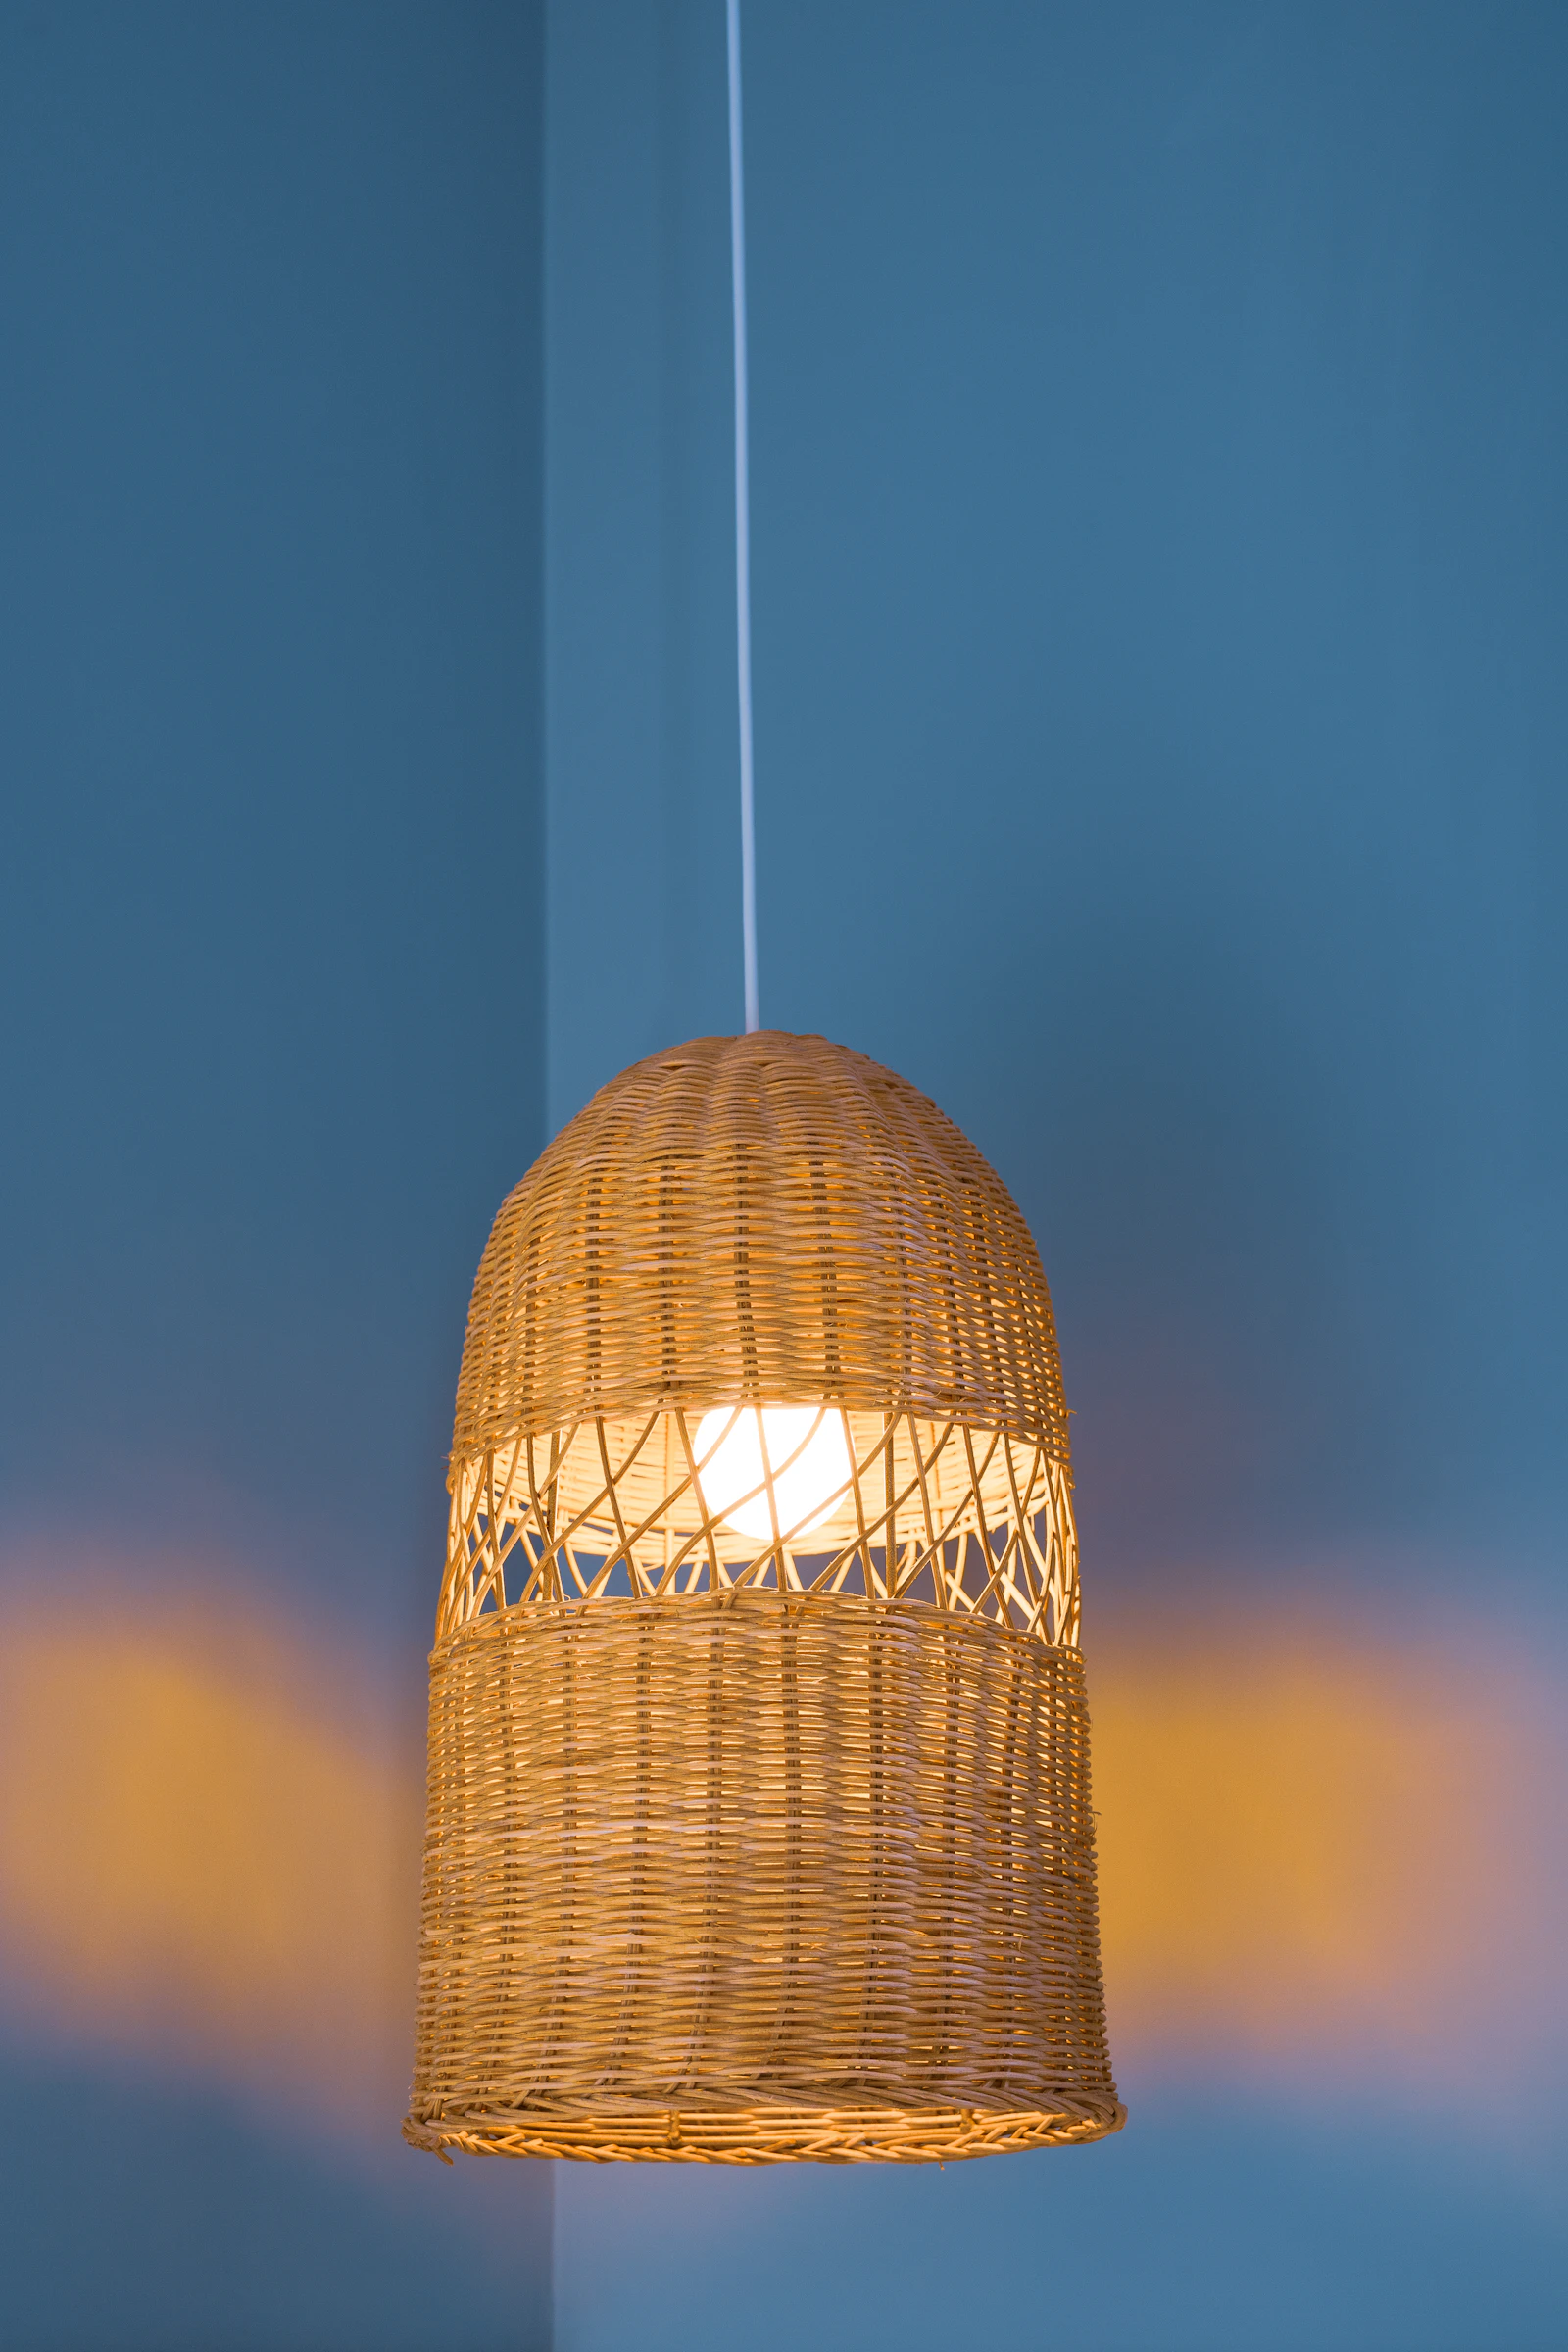
- Decorative light is light you look at rather than light you see by: a statement pendant, candles, a lamp with a glowing shade, string lights. It adds character but rarely provides useful illumination on its own.
The point of layering is control. Bright, practical light when you need it; low, warm pools of light when you want to relax.
How much light: lumens per square metre
Brightness of a bulb is measured in lumens; light falling on a surface is measured in lux (lumens per square metre). A simple planning method is to multiply the floor area by a target number of lumens per square metre for the room type, then spread that total across your light sources. These figures are approximate: dark walls, high ceilings and shaded fittings absorb light, so aim towards the upper end in those cases.
| Room | Total lumens per m² (approx.) | Task areas | Suggested colour temperature |
|---|---|---|---|
| Living room | 150–300 | Reading: 400–500 lm from a dedicated lamp | 2700 K |
| Bedroom | 100–200 | Bedside reading: 300–450 lm per lamp | 2200–2700 K |
| Kitchen | 300–400 | Worktops: 500+ lux under cabinets | 3000 K |
| Dining area | 200–300 | Pendant(s) over the table, dimmable | 2700 K |
| Bathroom | 200–400 | Mirror: 400–800 lm, lit from the sides or front | 3000 K |
| Hallway and stairs | 100–150 | Even light on treads | 2700–3000 K |
| Home office | 300–500 | Desk: 500 lux on the work surface | 3000–4000 K |
Worked example: a 4 × 5 m (13 × 16 ft) living room is 20 m². At 200 lumens per m², the room needs roughly 4,000 lumens in total. That might be a ceiling fitting with 1,500 lumens, two table lamps at 600 lumens each, a reading floor lamp at 800 lumens and a shelf or picture light at 300–500 lumens. On a normal evening you might use only the lamps, around 2,000 lumens, and keep the ceiling light for cleaning or gatherings.
Colour temperature
Colour temperature, measured in kelvin (K), describes whether white light looks warm or cool.
- 2200–2400 K: very warm, candle-like. Good for bedside lamps, decorative bulbs and late-evening light.
- 2700 K: warm white, similar to traditional incandescent bulbs. The default for living rooms and bedrooms.
- 3000 K: soft white, slightly crisper. Good for kitchens, bathrooms and spaces used in daytime.
- 4000 K: neutral or cool white. Useful in workshops, utility rooms and some home offices; often feels harsh in living spaces.
Keep colour temperature consistent within a room. A 4000 K downlight next to a 2700 K lamp makes both look wrong, and walls lit by different temperatures appear patchy. Some bulbs offer adjustable or "dim-to-warm" settings, which shift warmer as they dim, closer to the way traditional bulbs behaved.
Colour rendering (CRI)
The colour rendering index (CRI) indicates how accurately a light shows colours, on a scale up to 100. Cheap LEDs with a low CRI can make skin look grey, food look dull and paint colours look different from the sample. Choose CRI 90 or above wherever colour matters: kitchens, bathrooms, dressing areas, near artwork and in any room where you are choosing paint. The CRI is usually printed on the packaging or in product specifications.
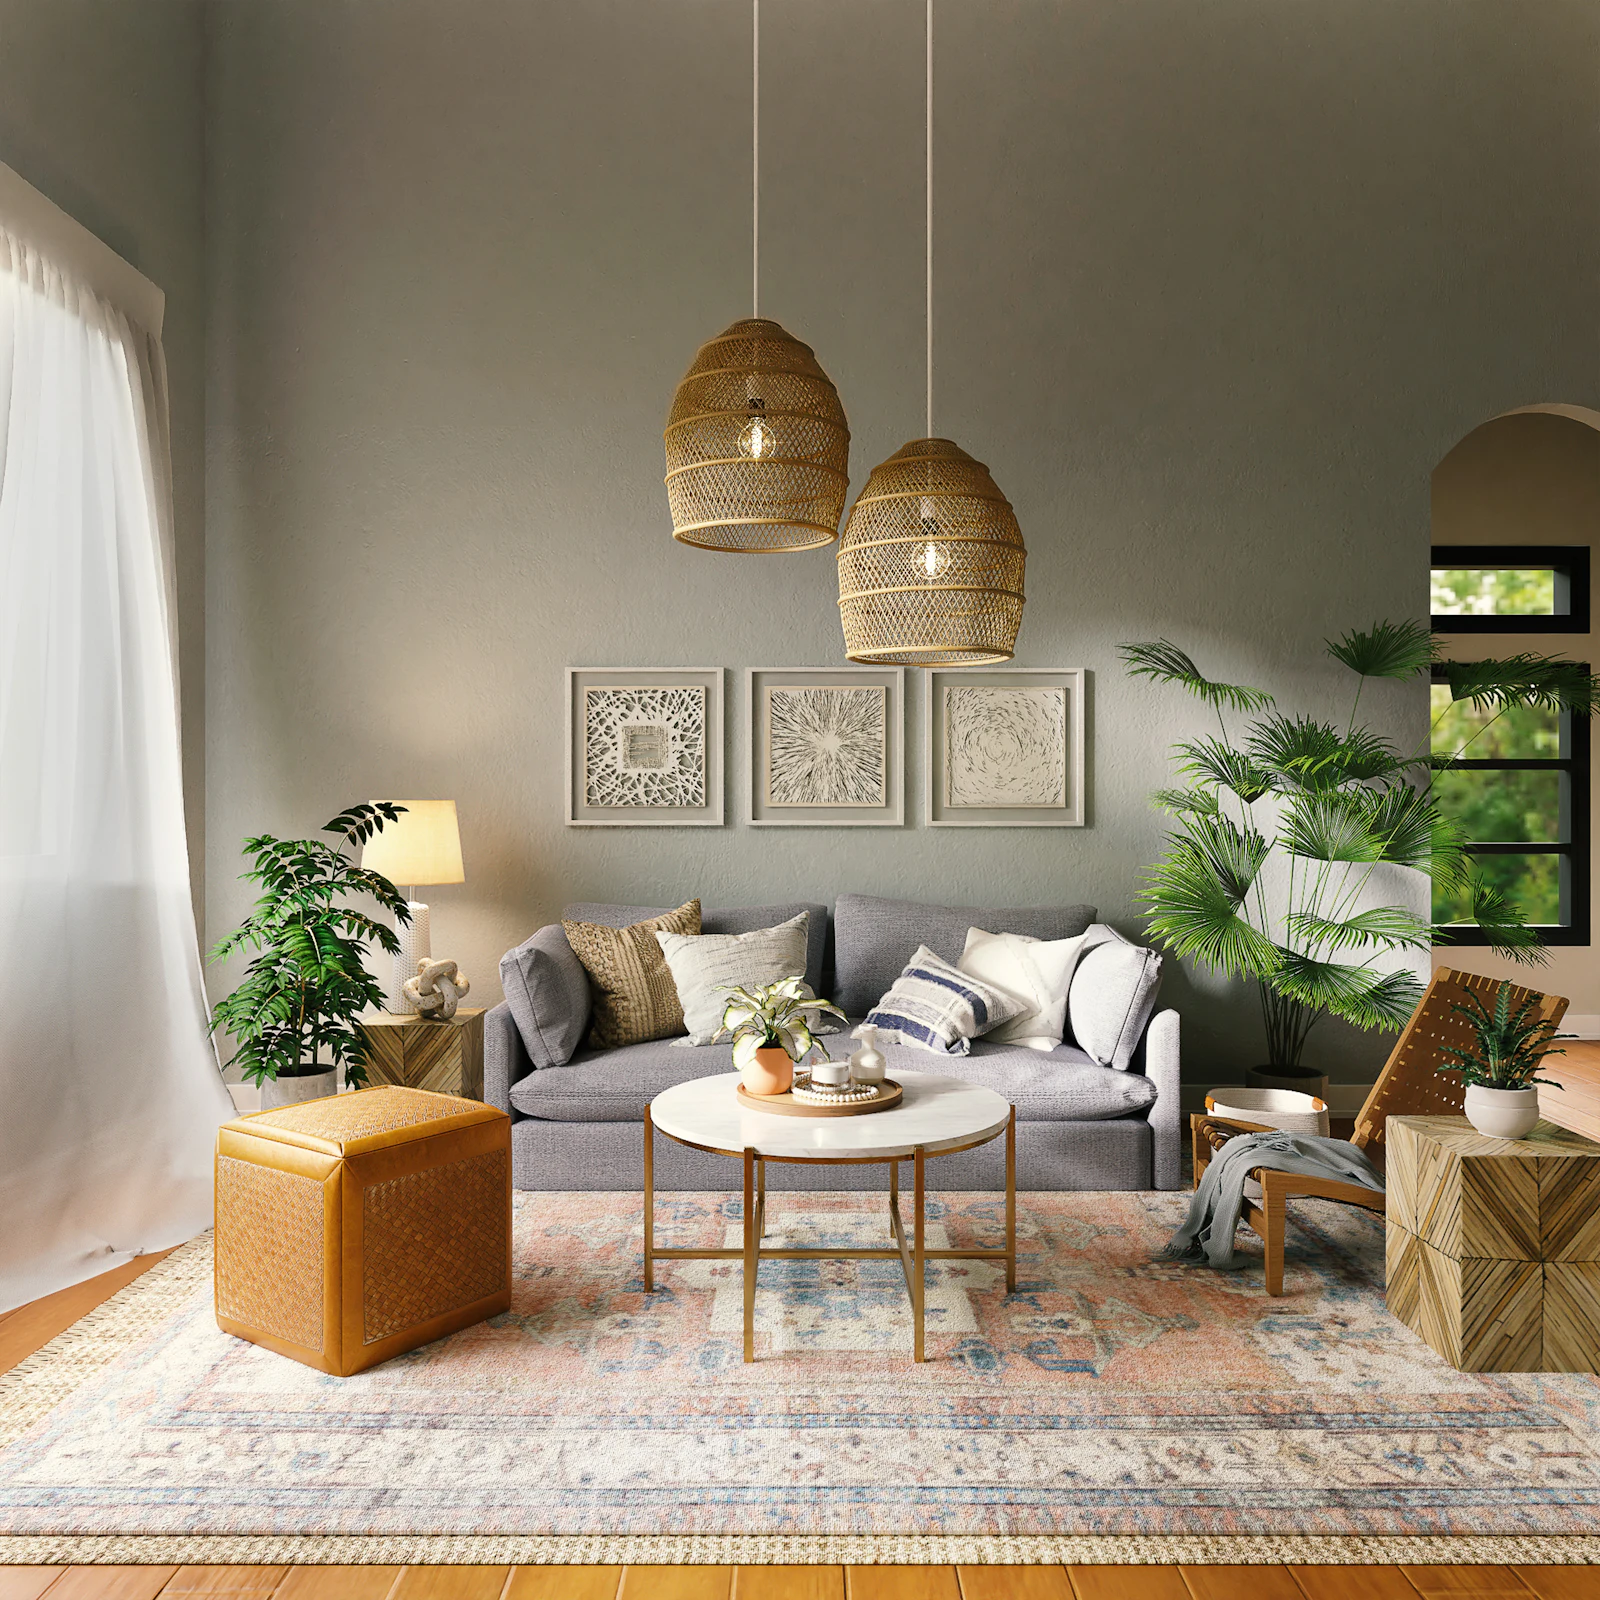
Placement: getting heights and positions right
Pendants
- Over a dining table: the bottom of the shade around 75–90 cm (30–35 in) above the table top, so light falls on the table without glare in seated eyes.
- In walkways: at least 2.0–2.1 m (79–83 in) clear headroom beneath the fitting.
- Width over a table: a pendant or group of pendants roughly half to two-thirds the width of the table looks proportionate, keeping at least 15 cm (6 in) from each edge.
Table and floor lamps
- When you are seated beside a lamp, the bottom of the shade should be roughly at eye level, which for most people sitting on a sofa is about 100–110 cm (39–43 in) from the floor. Lower, and the bulb shines in your eyes; higher, and the light misses the book.
- Reading lamps work best placed slightly behind and to one side of the reader, so light falls on the page without shining into the eyes or casting the reader's own shadow across it.
- Place lamps to create a triangle of light around the room, rather than lining them up along one wall.
Wall lights
- In living rooms and hallways, wall lights are commonly mounted around 150–170 cm (59–67 in) from the floor, adjusted so the bulb is not visible from seated or standing eye level.
- Beside a bed, swing-arm or reading wall lights usually sit about 50–70 cm (20–28 in) above the mattress top. Our bedroom lighting guide covers bedside arrangements in detail.
Accent lights
- Picture lights generally look proportionate at roughly half to two-thirds of the artwork's width.
- Directional spots aimed at art work best at about 30° from vertical, which reduces reflections on glazed frames.
- LED strips in shelves or under cabinets should be hidden behind a lip or diffuser so the individual dots are not visible.
Dimmers and switching
Dimming is the single biggest improvement to most lighting schemes. A ceiling light at 30% often looks better than a lamp at full power. Use only bulbs marked dimmable and a dimmer rated for LED loads; mismatches cause flicker, buzzing and a short dimming range. Separate switching for different layers, for example downlights on one circuit and wall lights on another, gives far more control than a single switch. Any changes to fixed wiring, switches or circuits should be carried out by a qualified electrician, and bathroom fittings must be rated for the zone they are installed in.
Smart plugs and smart bulbs are a renter-friendly alternative. They let you group lamps into scenes, such as "evening" or "film", without changing wiring.
Room-by-room starting points
- Living room: dimmable ceiling or wall lighting for ambient light, two or three lamps at different heights, a dedicated reading light, plus one accent such as a shelf strip or picture light.
- Kitchen: even ambient light, under-cabinet task lighting along worktops, pendants over an island or table. See the kitchen lighting guide for spacing.
- Bedroom: soft ambient light, bedside lamps or wall lights for reading, and low-level light for night-time movement.
- Bathroom: ambient light plus good, shadow-free light at the mirror from the sides or front, not just from above.
- Hallway: even ambient light, a lamp on a console, and stair lighting that clearly shows each tread.
- Home office: balanced ambient light, a desk lamp on the opposite side to your writing hand, and glare control on screens.
Reading bulb packaging
LED packaging contains most of the information you need, if you know where to look:
- Lumens (lm): the brightness. Compare this, not watts. As a rough reference, 450 lm is similar to an old 40 W incandescent bulb, 800 lm to 60 W and 1,500 lm to 100 W.
- Colour temperature (K): warmth of the light. Buy the same figure for every bulb in a room.
- CRI or Ra: colour rendering. Look for 90 or above.
- Beam angle: for spotlights and downlights. Narrow beams of 15–25° suit accenting objects; wide beams of 36–60° give general light.
- Dimmable: only these bulbs should be used with dimmers.
- Cap type: such as E27, E14, B22 or GU10. Check the fitting before buying.
Start with daylight
A lighting plan should complement daylight, not replace it. Note which parts of the room are darkest during the day; those are the places where lamps will be needed first in the afternoon. Light-coloured walls and ceilings reflect more light, while dark finishes absorb it, so a room painted in a deep colour may need noticeably more lumens to feel equally bright. Mirrors placed to catch window light can help a dim corner during the day, and a lamp beside the mirror doubles its effect at night.
Plan scenes, not just fittings
A practical way to test a lighting plan is to describe three or four "scenes" the room needs and check that your layers can produce each one.
- Bright: cleaning, homework, a busy family evening. Ambient light at full output, plus task lights where needed.
- Everyday evening: lamps on, ambient light dimmed low or off, one accent light on. Most rooms spend most of their evenings here.
- Relaxed: watching a film or winding down. One or two low lamps placed away from the screen, plus a soft accent light to avoid a dark room around a bright screen.
- Night: low-level light for moving through hallways and to bathrooms without switching on bright overhead lights.
If a scene cannot be created with your switches and lamps, that is where the plan needs another source or a separate circuit. This is far cheaper to discover on paper than after decorating.
Common mistakes
- Relying on one central fitting. It casts harsh downward shadows and leaves the edges of the room dark.
- A grid of downlights everywhere. Rows of recessed lights produce flat, uniform light and "hot spots" on walls. Use fewer, positioned to light surfaces and tasks.
- Mixing colour temperatures in the same room.
- Choosing bulbs by watts. LED wattage tells you energy use, not brightness. Compare lumens.
- Low-CRI bulbs that make colours and skin tones look dull.
- Lamps too tall or too short for the seat beside them, causing glare or poor reading light.
- Forgetting dark finishes. Deep wall colours and dark floors absorb light; plan more lumens or more sources.
Lighting plan checklist
- List what happens in the room: reading, cooking, working, watching, relaxing.
- Calculate a total lumen target from floor area and room type.
- Choose ambient sources and decide whether they need dimming.
- Add task light at each activity point.
- Add one or two accent lights for art, shelves or texture.
- Select one colour temperature and CRI 90+ bulbs throughout the room.
- Plan switching so layers can be used separately; use a qualified electrician for wiring.
- Check heights: pendants, lamp shades and wall lights relative to eye level.
A room lit in layers feels larger, calmer and more inviting, and it adapts from bright working light at breakfast to warm, low pools of light in the evening, which is exactly what a timeless living room needs.
Frequently asked questions
How many lumens do I need for a living room?
As a rough guide, plan on around 150–300 lumens per square metre in total across all light sources, so a 20 m² living room would have roughly 3,000–6,000 lumens available. You will rarely use it all at once; dimmers and separate circuits let you choose the level.
What colour temperature is best for a home?
Warm white, around 2700 K, suits living rooms and bedrooms because it feels relaxed in the evening. Around 3000 K works well in kitchens and bathrooms where you want slightly crisper light. 4000 K can suit a home office or workshop but tends to feel clinical in living spaces.
What does CRI mean on a bulb?
CRI, the colour rendering index, describes how accurately a light source shows colours compared with a reference light, on a scale up to 100. For homes, look for CRI 90 or above, especially in kitchens, bathrooms and anywhere you choose clothes, apply make-up or display art.
Can I put any LED bulb on a dimmer?
No. Only bulbs marked as dimmable should be dimmed, and the dimmer switch must be compatible with LED loads. Mismatches cause flicker, buzzing or a limited dimming range. Changing switches and circuits should be done by a qualified electrician.
How many light sources should a living room have?
Most living rooms benefit from at least four or five separate sources, spread around the room and at different heights: for example a ceiling light, two table or floor lamps, a reading light and an accent light on shelves or art.
Measurements and rules of thumb in this guide are starting points; always check your own room, local building rules and manufacturer instructions. Images are illustrative, from Unsplash. Read how we research and update our guides in our Editorial Policy, and tell us if you spot an error.