Kitchen Layout Guide: Shapes, Clearances and Work Zones
A kitchen that looks good but makes you walk, reach and squeeze is a daily irritation. This guide explains the five classic layouts, the measurements behind them and how to choose the one that suits your room and the way you cook.
Most kitchen problems are layout problems. A drawer that cannot open because the dishwasher door is down, a fridge door that blocks the only walkway, a hob squeezed into a corner with nowhere to put a hot pan: none of these are fixed by better cabinet fronts. They are fixed by getting the plan right before anything is ordered.
This guide covers the five classic kitchen layouts, the clearances and heights that make each one comfortable, and a method for deciding which plan suits your room. The figures are rules of thumb used widely in kitchen planning, not legal requirements, so treat them as a starting point and check them against the appliances you actually intend to buy.
Start with how the kitchen is used
Before drawing cabinets, answer a few practical questions. They decide the layout more than the size of the room does.
- How many people cook at once? One cook can work comfortably in a tighter plan. Two cooks need wider aisles and, ideally, two separate preparation areas.
- Does anyone need to pass through? If the kitchen links the hall to the garden or dining room, that through-route must stay outside the working area.
- Where will people sit? Stools at an island, a table in the room or a separate dining space each need different allowances.
- What do you store? A household that shops once a week needs more tall larder space than one that shops daily.
- Which services are fixed? Moving a soil pipe or gas supply is possible, but it adds cost. Knowing what can move keeps the plan realistic.
Work zones and the work triangle
The work triangle joins the three main points of a kitchen: the sink, the hob and the fridge. The traditional guidance is that each side should be between about 1.2 m and 2.7 m (4–9 ft), and the three sides together between about 4 m and 7.9 m (13–26 ft). Shorter than that and the cook is cramped; longer and every meal involves a walk.
The triangle was devised for a single cook in a closed kitchen. Today it works best as a sense check inside a zone plan, where the kitchen is organised by task in the order food is handled:
- Storage: fridge, freezer and larder, ideally near where shopping comes in.
- Preparation: the longest clear run of worktop, between the sink and the hob if possible, with knives, boards and bowls in the drawers below.
- Cooking: hob and oven, with pans, utensils and oils within one step.
- Cleaning: sink and dishwasher side by side, with the bin and the crockery drawer close by so unloading does not involve crossing the room.
The reason this order matters is that it matches the direction food moves. When zones are out of sequence, the cook constantly doubles back, and in a shared kitchen that is when people collide.
The five classic layouts
One-wall kitchen
Everything sits along a single wall. It suits studios and narrow open-plan rooms because it uses the least floor area. The weakness is that the triangle becomes a straight line, so the run needs to be long enough for proper landing space: around 3 m (10 ft) is a comfortable minimum, with the sink in the middle and the fridge and hob towards opposite ends. Tall units at one end and an extra table or trolley opposite can add the preparation space the wall lacks.
Galley kitchen
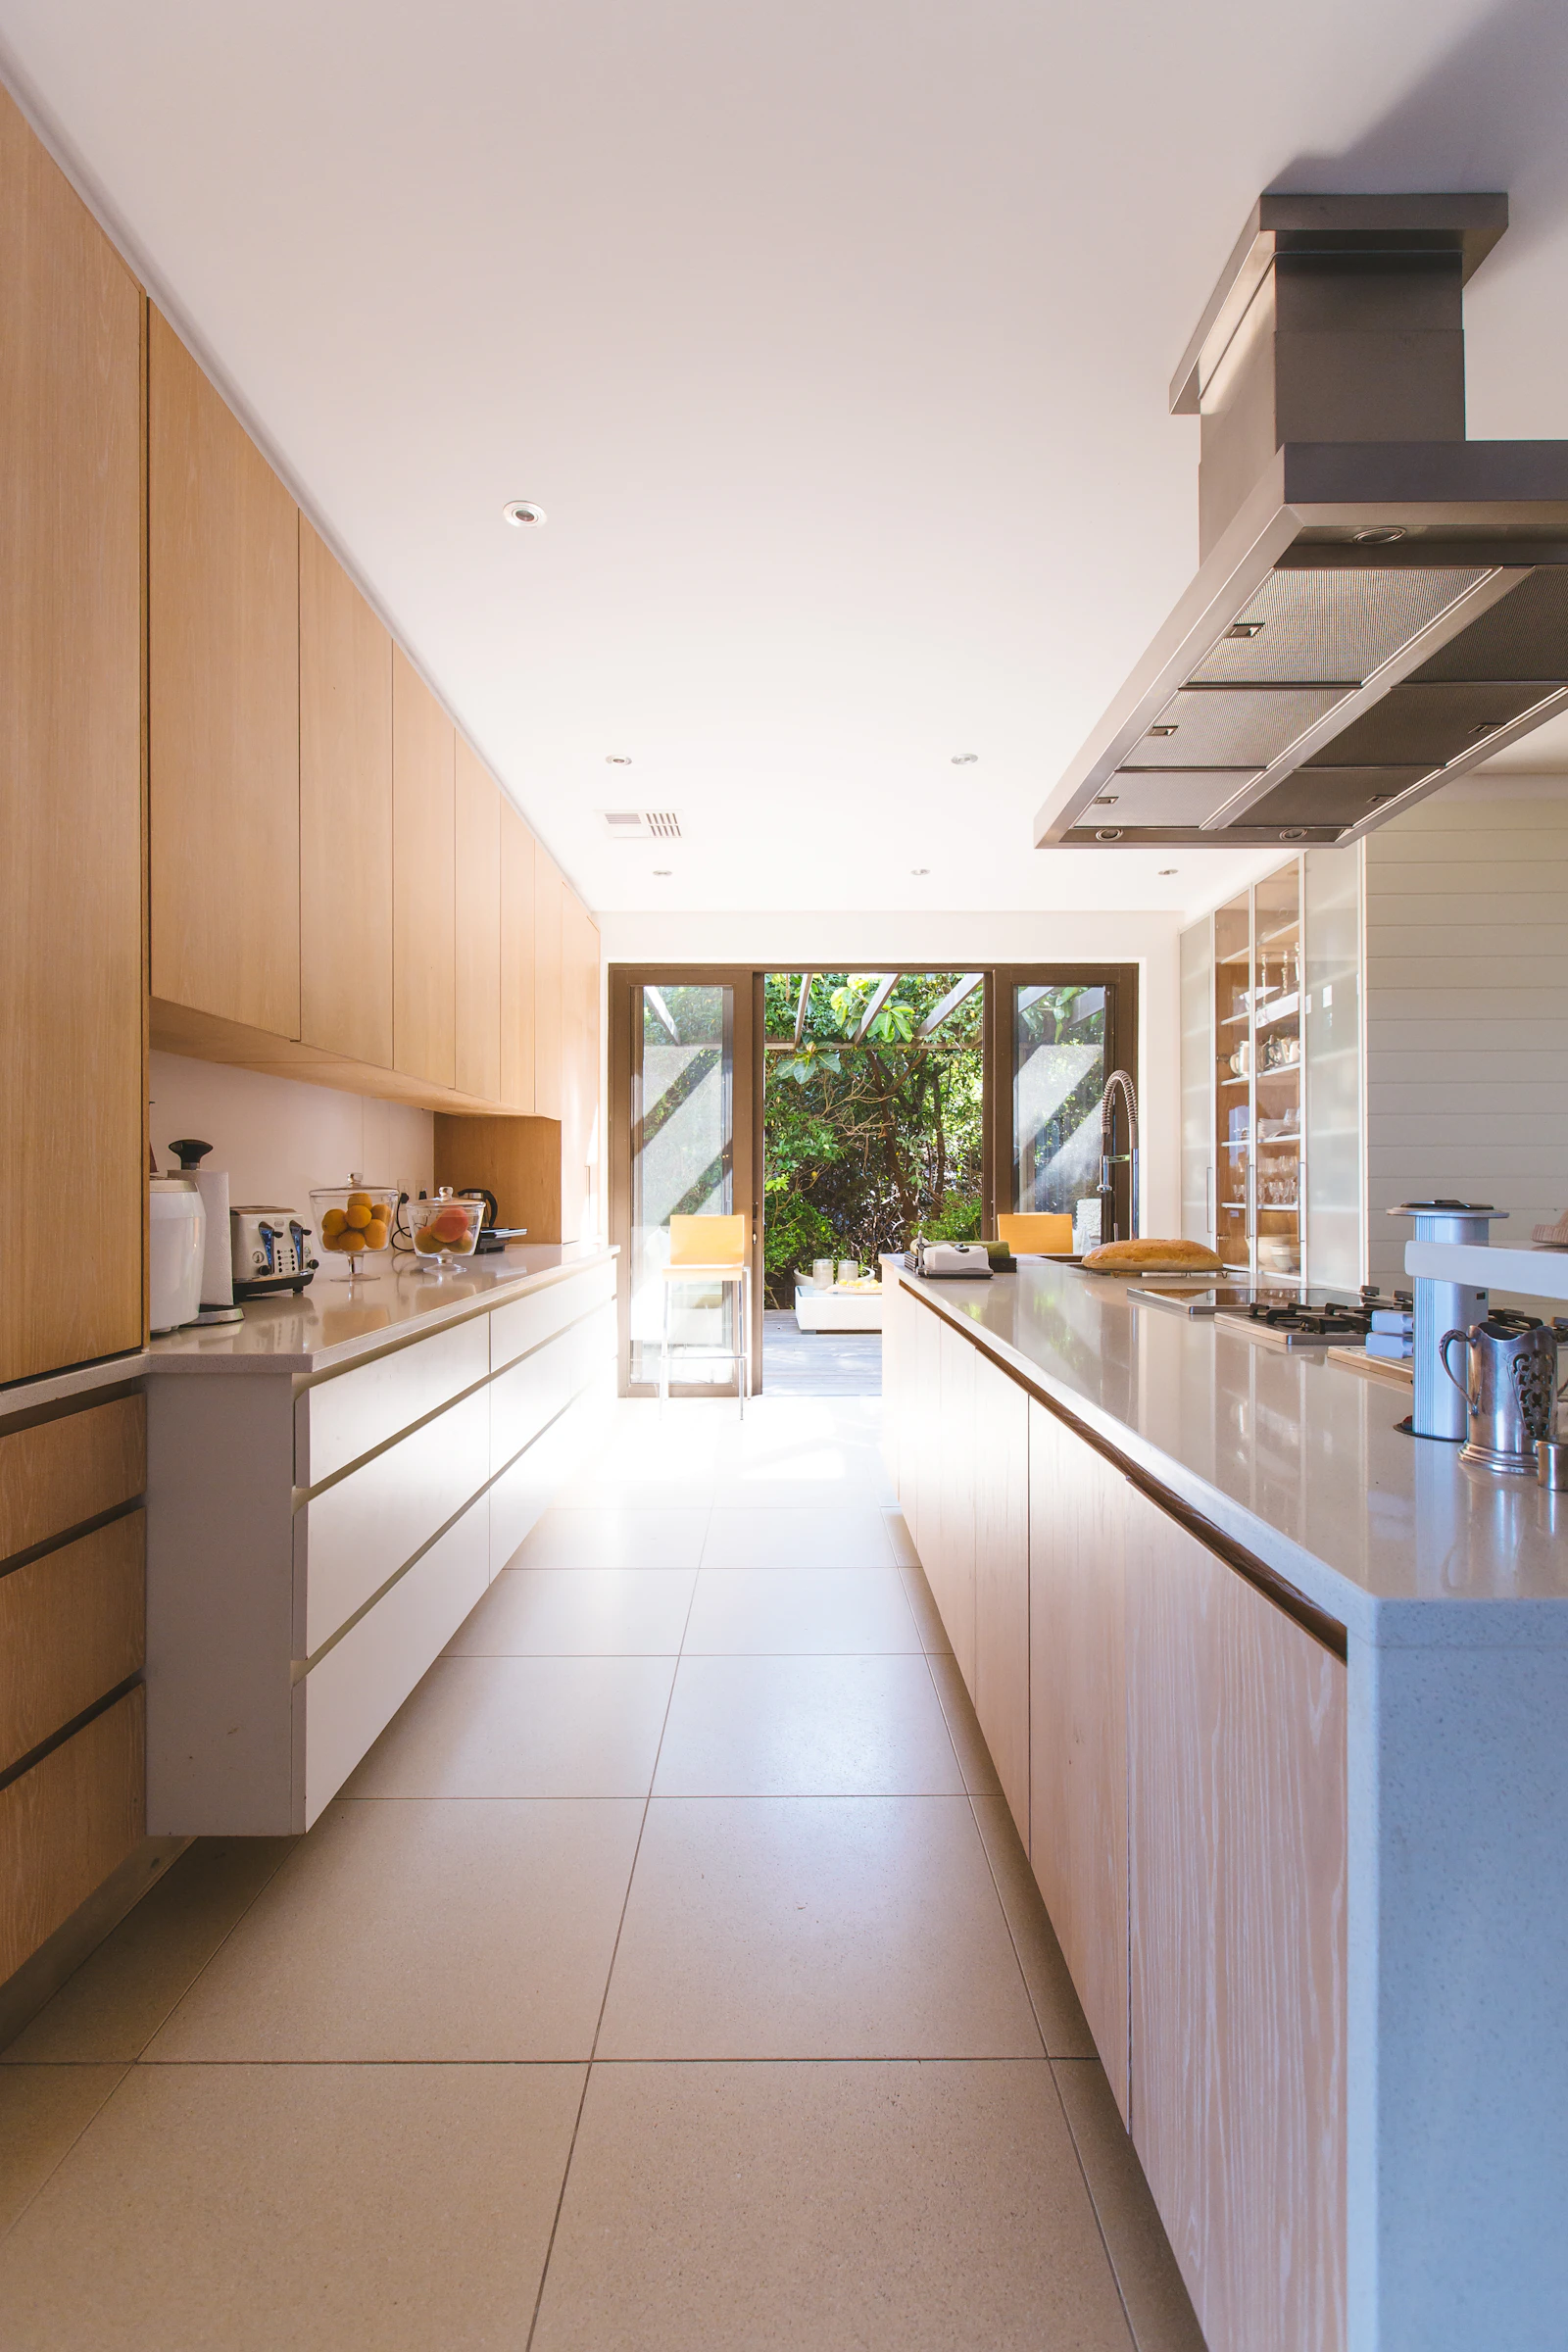
Two parallel runs facing each other. Professional kitchens use galleys because every surface is within a step or two. For a single cook, keep at least 100 cm (39 in) between the fronts of the two runs; 120 cm (47 in) lets two people pass and allows a dishwasher door and an oven door to open opposite each other without trapping anyone. Above about 150 cm (59 in) the galley starts to lose its efficiency. Ideally a galley is closed at one end, so it does not become a corridor.
L-shaped kitchen
Two runs at right angles, leaving the rest of the room open for a table or an island. This is the most flexible layout for medium-sized rooms. Put the sink on one leg and the hob on the other, with the preparation run between them. The corner is the awkward part: keep the sink and hob at least 30–40 cm (12–16 in) away from it so you are not working with your elbow in the angle, and plan a proper corner fitting or accept that the corner cupboard will hold rarely used items.
U-shaped kitchen
Three runs of cabinets offer the most worktop and storage, and the cook stands in the middle with everything around them. The catch is width. With 60 cm (24 in) deep units on two facing sides and a 120 cm (47 in) aisle between them, the room needs to be about 2.4 m (8 ft) wide. A narrower U leaves two corners clashing with each other and drawers that cannot fully open. If the room is wide but short, a U with one leg turned into a peninsula, open on the far side, is often better.
Island kitchen
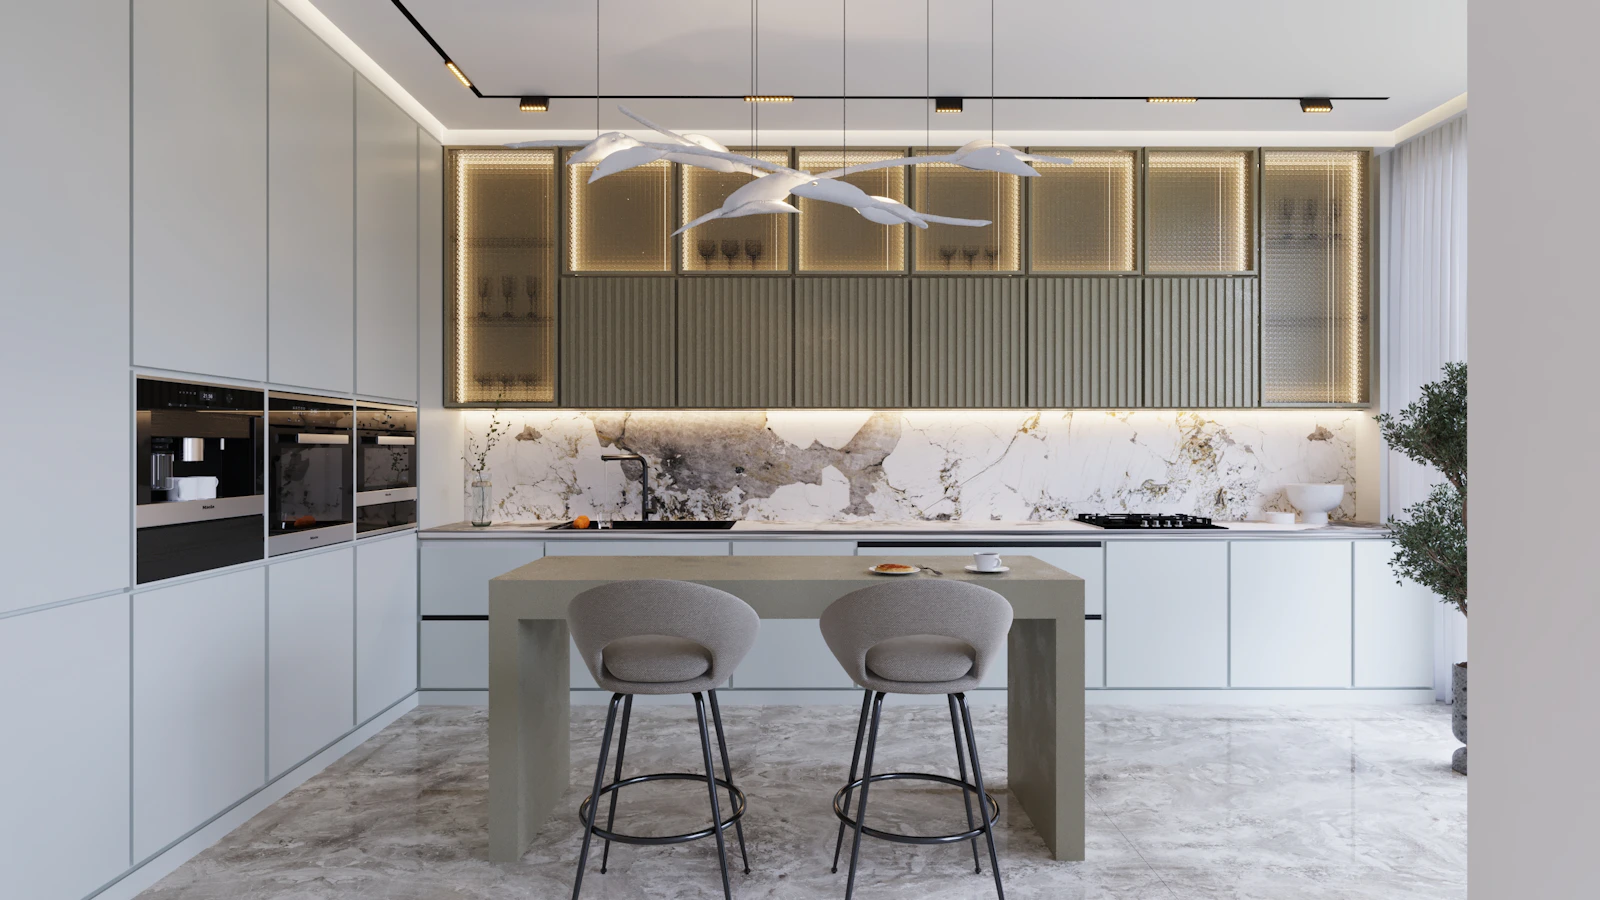
An island is usually added to an L-shape or a single run. It can hold the hob, the sink or simply a clear preparation and serving surface. Islands work well when there is room for them, and badly when there is not, which is why the clearances below matter more here than anywhere else.
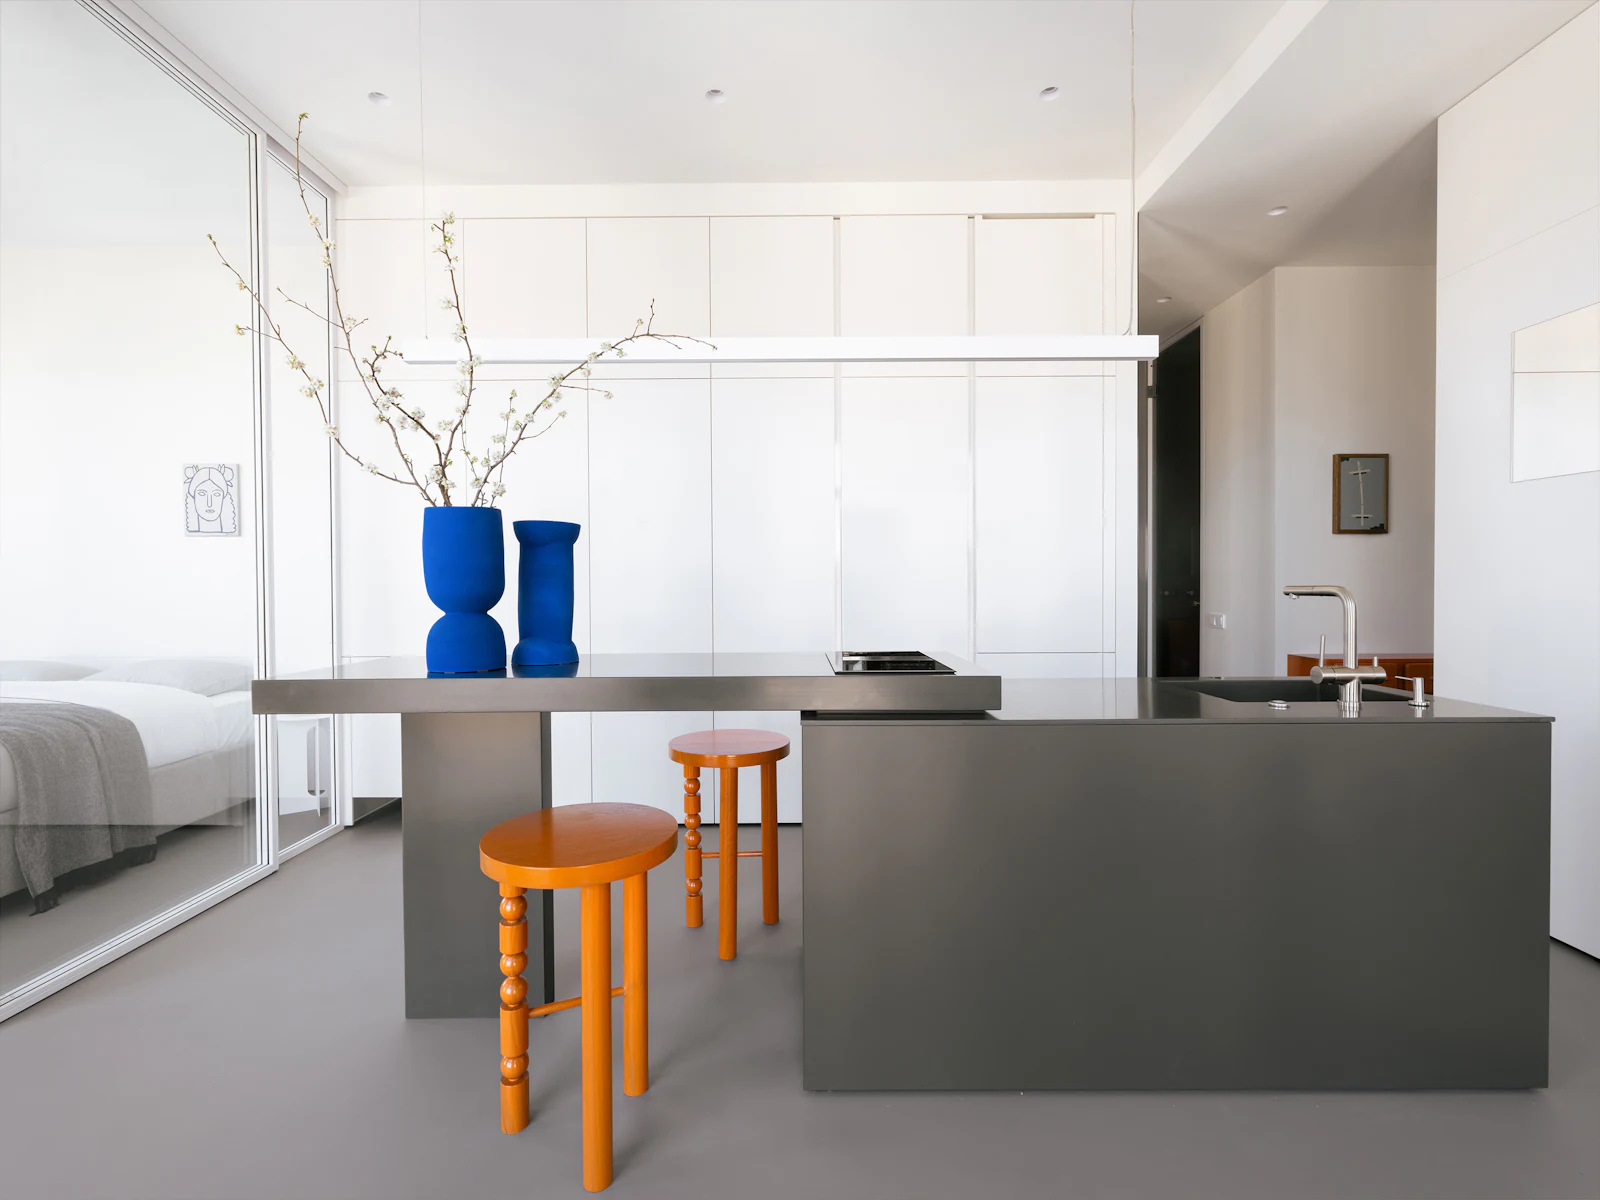
Layouts compared
| Layout | Typical minimum room size | Best for | Main drawback |
|---|---|---|---|
| One-wall | Run of about 3 m (10 ft) | Studios, narrow open-plan rooms | Limited worktop and long walks along the run |
| Galley | About 2.2 m (7 ft 3 in) wide | Single cooks, efficient small kitchens | Becomes a corridor if open at both ends |
| L-shaped | About 2.4 × 2.4 m (8 × 8 ft) | Medium rooms with space for a table | Corner storage is hard to reach |
| U-shaped | About 2.4 m (8 ft) internal width | Keen cooks who need storage | Feels enclosed; two corners to resolve |
| L or single run plus island | About 3.6–4 m (12–13 ft) wide | Larger kitchen-diners, two cooks | Needs generous aisles; services in the island add cost |
Clearances that make a kitchen comfortable
Aisles are measured between the fronts of cabinets or appliances, not between walls. Handles, a protruding worktop and an open dishwasher door all eat into that space, so measure from the furthest point.
- Working aisle, one cook: 100–110 cm (39–43 in).
- Working aisle, two cooks: 120 cm (47 in) or a little more.
- Walkway not used for cooking: at least 90 cm (35 in).
- Behind island stools: about 90 cm (35 in) if no one needs to pass, 110 cm (43 in) or more if it is also a walkway.
- In front of an open appliance: a standard dishwasher or oven door projects roughly 50–60 cm (20–24 in), so check that you can stand beside it, not only in front of it.
The reason for the generous figures is that people rarely stand still in a kitchen. They bend into low drawers, step back from a hot oven and turn with a full pan. An aisle that feels fine in an empty showroom can feel tight with two people and an open drawer.
Landing space beside each appliance
Landing space is the clear worktop you put things down on. Without it, hot trays end up on the hob and shopping ends up on the floor.
- Hob: at least 30–40 cm (12–16 in) on one side and ideally 20–30 cm (8–12 in) on the other, so pan handles do not hang over the edge.
- Sink: around 60 cm (24 in) on one side for dirty dishes and 40 cm (16 in) on the other for draining.
- Fridge: about 40 cm (16 in) beside or opposite the opening side.
- Wall oven: a surface within one step to put a hot dish on.
Heights and depths
Standard fitted kitchens in the UK and Europe use base units about 60 cm (24 in) deep with a worktop height of about 90 cm (35.5 in); in the US the usual figure is 36 in (91 cm). These are averages. A comfortable worktop is roughly 10–15 cm (4–6 in) below your bent elbow, which is why very tall cooks often raise the plinth and shorter cooks lower it. Some kitchens use two heights: a lower section for kneading and chopping and a standard height elsewhere.
| Element | Typical dimension | Why it matters |
|---|---|---|
| Worktop height | 90–92 cm (35.5–36 in) | Reduces bending while chopping |
| Base unit depth | 60 cm (24 in) plus worktop overhang | Fits standard appliances |
| Wall unit depth | 30–35 cm (12–14 in) | Shallow enough not to hit your head |
| Gap worktop to wall units | 45–60 cm (18–24 in) | Room for small appliances and a view of the back of the worktop |
| Island seating height | 90 cm worktop with 65 cm (26 in) stools | About 25–30 cm (10–12 in) between seat and top |
| Breakfast bar overhang | 25–30 cm (10–12 in) | Knee room for perching at counter height |
| Width per stool | About 60 cm (24 in) | Elbow room for eating side by side |
Cooker hood heights vary by appliance and fuel type, so follow the manufacturer's installation instructions rather than a general figure. Any new wiring, sockets near the sink or relocated circuits should be designed and installed by a qualified electrician, and gas work by a registered gas engineer.
Planning an island that works
An island should earn its floor area. A small island squeezed into a room that cannot spare the aisles makes the kitchen worse, not better. As a minimum, an island needs to be about 120 cm (47 in) long and 60 cm (24 in) deep to be useful as a work surface, and 90 cm (35 in) or more deep if it has seating on one side and storage on the other. Add 100–120 cm (39–47 in) of clear aisle on each working side and you can see why islands need a room about 3.6–4 m (12–13 ft) across.
Decide what the island is for before deciding its size:
- Preparation island: the simplest and often the most useful, with deep drawers below and no services apart from sockets.
- Hob island: lets the cook face the room, but needs extraction, which is more visible and harder to route through a ceiling or floor.
- Sink island: keeps the dishwasher and bin close to the table, but dirty dishes sit in full view and drainage needs a suitable fall.
- Seating island: needs the overhang and stool widths above, and seats should not sit on the main walkway.
If the room is too narrow for an island, a peninsula, attached at one end to a wall run, gives much of the same worktop with one less aisle. A sturdy table or a mobile trolley is another honest alternative in a small room.
A step-by-step method for choosing your layout
- Draw the room to scale at 1:20 or 1:50, marking doors and their swings, windows and sill heights, radiators, the soil stack, the gas meter and existing sockets.
- Mark the through-routes people will take, for example hall to garden door. These must stay out of the working triangle.
- Place the sink first. It is the hardest element to move because of drainage, and it is where people spend the most time.
- Place the hob and the fridge so that the preparation run falls between the sink and the hob, and the fridge sits at the edge of the working area where others can reach it without getting in the way.
- Check every aisle and door using the clearances above, including appliance doors fully open.
- Add tall units such as the larder or oven housing at the ends of runs, so they do not break up the worktop.
- Mock it up. Mark the plan on the floor with masking tape and cardboard boxes, then walk through cooking a meal. It is the quickest way to find a problem.
Once the layout is fixed, choose surfaces and finishes. Our guide to choosing kitchen countertops explains how different materials cope with heat and stains, and the kitchen lighting guide covers how to light the zones you have just planned.
Common mistakes
- Hob in the corner or at the end of a run. Pan handles have nowhere to go and the cook has no landing space on one side.
- Fridge door opening against a wall. Many fridges need extra clearance on the hinge side for the door and drawers to open fully. Check the appliance specification.
- Two appliance doors that clash. A dishwasher at right angles to an oven, or a drawer that hits a handle on the opposite run, is a classic error that only shows after installation.
- An island with no breathing room. If the aisles fall below about 100 cm (39 in), the island becomes an obstacle.
- The main walkway through the triangle. Children heading for the garden should not pass between the hob and the sink.
- Too few sockets in the right places. Plan where the kettle, toaster and mixer will live and ask your electrician to put sockets there.
- Forgetting the bin. A pull-out bin next to the sink or preparation area saves a surprising number of steps.
Kitchen layout checklist
- Room drawn to scale with services, doors and windows marked.
- Layout chosen to suit the room width: galley, L, U or island only where aisles allow.
- Sink, preparation run and hob in a logical order.
- Triangle sides between about 1.2 m and 2.7 m (4–9 ft), with no through-route crossing it.
- Working aisles of 100–120 cm (39–47 in); walkways of at least 90 cm (35 in).
- Landing space beside the hob, sink, fridge and oven.
- Worktop height checked against the main cook's elbow.
- All appliance and drawer clearances checked with doors open.
- Electrical and gas work planned with qualified professionals.
- Plan tested on the floor with tape before ordering.
If the kitchen shares space with a dining area, the next step is the table: see the dining table size guide for how much room each diner and chair needs.
Frequently asked questions
What is the most efficient kitchen layout?
For most homes an L-shaped or galley layout is the most efficient, because the sink, hob and fridge can sit close together without people walking through the working area. A U-shape offers the most worktop, but only if the room is at least about 2.4 m (8 ft) wide; otherwise the centre becomes too tight.
How much space do I need for a kitchen island?
Allow the island itself to be at least 120 cm (47 in) long and 60–90 cm (24–35 in) deep, then add a clear aisle of 100–120 cm (39–47 in) on every working side. In practice that means a kitchen needs to be roughly 3.6–4 m (12–13 ft) wide before an island stops being an obstacle.
Is the kitchen work triangle still relevant?
The triangle is still a useful check: the sink, hob and fridge should be close enough to move between quickly, and no main walkway should cut through it. Modern kitchens with two cooks, extra appliances or an island are better planned as zones (storage, preparation, cooking, cleaning), with the triangle used as a sense check.
What is the standard kitchen worktop height?
Most fitted kitchens in the UK and Europe put the worktop at about 90 cm (35.5 in) from the floor, and in the US at about 91 cm (36 in). A comfortable height is roughly 10–15 cm (4–6 in) below your bent elbow, so very tall or short cooks can adjust plinth heights to suit.
Can I put the sink in a kitchen island?
Yes, but it needs a water supply, a drain with enough fall and space for a dishwasher next to it, which is easier on a solid floor than on a suspended one. A sink island also tends to collect dishes in full view, so many people prefer the hob or a clear preparation surface in the island instead.
Measurements and rules of thumb in this guide are starting points; always check your own room, local building rules and manufacturer instructions. Images are illustrative, from Unsplash. Read how we research and update our guides in our Editorial Policy, and tell us if you spot an error.